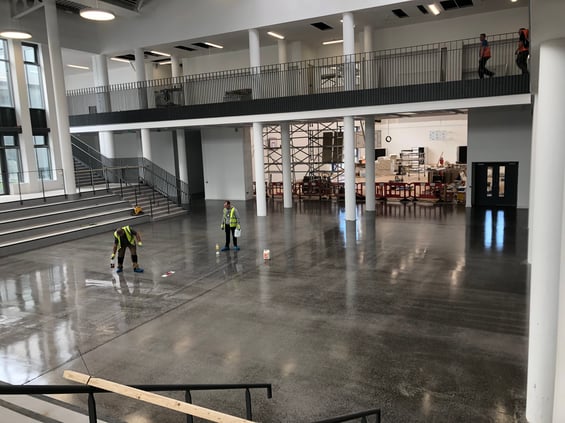
The process of concrete laying is a skill that is critical to master to achieve the polished finish your client desires. A perfectly laid concrete floor will allow for a durable, unique polished floor to impress your client. The prospect of laying concrete may be daunting at first, but it is not difficult to achieve, it simply requires specific knowledge on what needs to be done and why.
A badly laid floor will make that pristine finish almost impossible to achieve. Follow our step by step guide for the perfect polished concrete floor.
Step 1: Preparation
Before beginning the laying process there are important elements to consider:
Get a sample of the concrete from your local quarry and get it polished by your polishing contractor to see what the aggregate colour and concrete will be like when polished ensuring that your local quarry uses current materials.
- Order the sample as close to laying as possible as aggregate can change within a 6-8 month period and may not reflect the actual floor that is placed
- We recommend that the quarry is no more than 45 minutes away as any longer the mixture can begin to set in the lorry thus causing problems when it is time to lay the concrete.
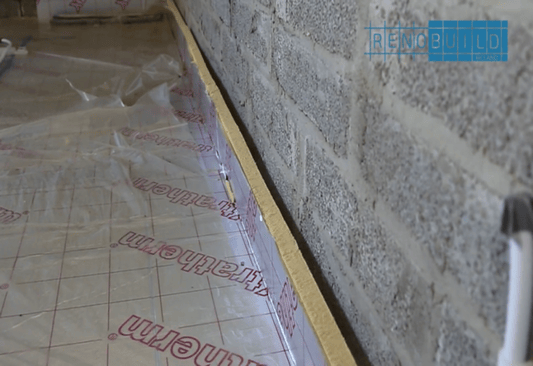
Step 2: Insulation
Before laying the concrete, you must ensure that your insulation/isolation is correctly placed around the external walls. This ensures that when the concrete is poured, it will not touch the walls, this process is known as ‘cold bridging’. Without this step, your heating will be detrimentally effected long term.
Insulation/isolation should also be placed around rising walls, girders, pipes and any other immovable objects that protrudes through the concrete slab as this allows the concrete to expand slightly reducing the likelihood of a stress crack.
Step 3: Slump testing
Once the concrete is ready to be pumped, slump testing must be carried out. This is the process of collecting samples of the wet concrete to be taken to ensure correct consistency or slump.
Things to consider when slump testing:
- Is it too loose?
- Is it too dry?
If the concrete is too loose or wet this will cause segregation within the aggregate in the floor. This means that after polishing, the aggregate may not be visible or may appear patchy, which ultimately is an expensive process to resolve.
On the other hand, if the concrete is too dry it will not flow properly making it difficult to spread and place.
Tip: For an in-depth tutorial on slump testing click here
.png?width=470&name=Expert%20tips%20for%20laying%20concrete%20to%20achieve%20unique%20polished%20floors-2%20(1).png)
Step 4: Concrete Strength
The concrete must be ordered with the correct strength for polishing.
Strength is determined by water to cement ratio in the overall mixture. If the aggregate consists of a weak stone such as chalk this can be difficult to achieve a gloss on the finished floor. The strength is measured using newtons per square millimetre or N/mm2. It varies from 15N/mm2 up to 65N/mm2. Anything below 30N may not take a shine well, anything above 40N is hard therefore will take longer to polish.
Tip: For an in-depth tutorial on concrete strength click here
Step 5: Controlling Cracks
When people see cracks, they automatically think this is a mistake. However, cracks are a common factor in concrete floors as you are dealing with a natural organic material.
Cracks can often enhance the look of some floors. Nevertheless, not everyone will agree, therefore there are a number of mechanisms that can be used to try minimise or control cracks such as:-
Polypropylene fibres
Placing Polypropylene Fibres into the concrete mix. This works to knit the concrete together. If there are any fibres sticking out of the floor when cured this will be removed during the grinding process.

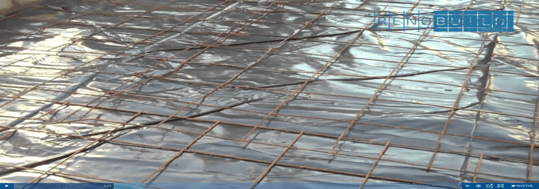
Mesh
A mesh can also be used by pouring the concrete mix over the mesh to help strengthen the concrete. Please note this mesh should not be placed where a control joint or crack inducer will be placed.
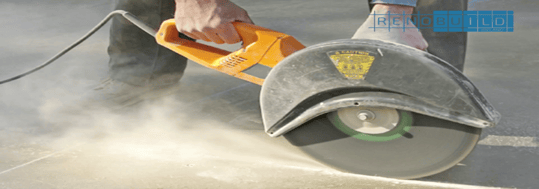
Saw cutting
Saw cuts or expansion joints can help control the cracks. Placing saw cuts into 30% of the depth of your surface will allow control of any cracks to run along the cuts and not randomly along the floor.
Crack inducers
You can add crack inducers hidden within the floor to encourage the concrete to crack in specific locations that cannot be seen.
Moisture management
Controlling moisture can also help prevent surface cracking or crazing. If the concrete dries out too quickly this can cause cracks to appear. To avoid this, place a plastic sheet over the floor or spray a retardant over the concrete after power floating or mist the floor with water. This will all contribute to keeping it damp.
If cracks appear you can also use a binder and dust from the floor to grout the cracks to try make them as invisible as possible or they can be filled with a two part coloured polyurethane that is polishable.
Step 6: Underfloor heating
Prior to the placement of concrete, if the floor has under floor heating, there are important steps that must be taken to preserve the functionality of the heating and the aesthetic design of the concrete.
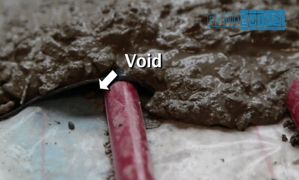
Firstly, plastic needs to be laid between the insulation and the pipes ensuring not to cover the pipes as this creates a void around them, reducing the capability of the heating system. Following this, secure the pipes to the floor to allow an even cover.
The next step to consider is the thickness of the concrete. If the concrete is too thin you may see the pipe outline, this is called ghosting, if the concrete is too thick it will take longer for the heating system to get going.
Tip: Follow our tutorial on placing concrete with underfloor heating here.
Step 7: Placement of the concrete
Materials to use when placing the mixture:
- Shovels
- Scoops
- The back of a rake through the mixture
Things to avoid:
- Do not use the tines of a rake as this causes lines to appear in the surface when polished as well as disturbing the even spread of aggregate.
- Do not tamp the mixture as the downward hitting motion in the wet concrete pushes the aggregate away from the surface pushing it further into the concrete and creating patches or lines.
Once the concrete is placed with the materials mentioned above, the mixture will need to be vibrated to remove air bubbles and allow it to spread evenly.
If you don’t vibrate the mixture, air pockets can affect the final polished surface which can be costly to remove. If using a vibrating poker, be careful not to drag it through the concrete as this will put visible lines or burn marks in the floor.
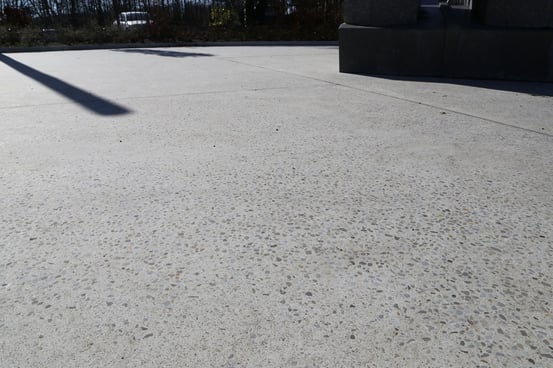
If the concrete has not been laid correctly it can have dips which cannot be ground down when polishing. Unevenness in the floor will cause disruption in the aggregate exposure, the best way to prevent differing aggregate is to make sure the concrete has been poured to a floor level of SRI.
Tip: For an in-depth tutorial on concrete placement best practice click here
Step 8: Power floating
Power floating is critical when concrete is placed to achieve the smooth perfect finish. When the concrete is ready to be power floated, there may be bleed water on the surface and small amounts of trapped air. Power floating will remove these to improve the overall finish of the floor.
The surface must be panned and bladed well. To achieve this, start with the areas that were laid first as the concrete will begin to dry here faster than the last areas laid. The edges must also be treated the same as the power float machines cannot reach into the edges or corners they have to be done by hand, using a trowel.
Ensure that you do not walk on any of the wet areas as the action of your weight will force the aggregate away from the surface, causing blank spots in the final polished floor.
Tip: For a tutorial on how to achieve types of finishes click here
Throughout the laying of the concrete process, communication is key. Every member of the team must have clarity on the stage and state of the floor.
We understand that some contractors may not be familiar with laying concrete. This is why we collaborate with your team and can manage the process of laying, finishing and polishing your concrete. Get in touch to discuss this further.
Do you have an upcoming project?
As expertise in surface solutions for over 30 years and the go to provider for architects, contractors and designers, get in touch with us regarding your plans.